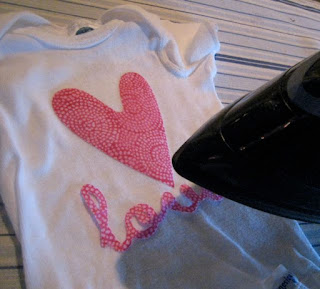
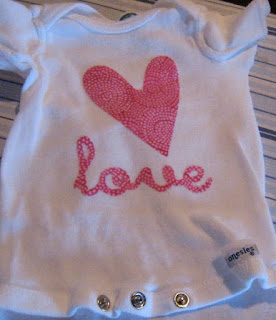
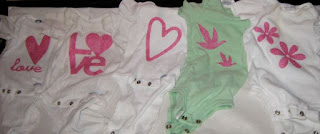
Fabric and the Cricut - my mind is spinning with possibilities of future projects - aprons, canvas bags, T-shirts, jeans, and on and on and on.
All you need is some Heat N Bond, cute fabric and something to stick it on to.
MATERIALS NEEDED FOR THIS PROJECT:
• Cricut Machine - Pressure: Max; Speed: Med; Blade: 5
• Cutting Mat
• Scissors
• Heat N Bond
• Fabric
• Onesies
• Iron/ironing board, set to Low or Wool
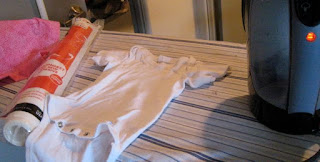
STEP ONE: APPLY HEAT N BOND TO FABRIC
1. Cut 12 x 12 or 12 x 24 pieces of fabric and Heat N Bond
2. Follow directions to bond them together
STEP TWO: CUT YOUR IMAGES
1. Place your fabric/Heat N Bond onto the cutting mat and press Load
2. Press the Multi-Cut button
3. Select your image, size and press Cut.
4. Unload your fabric and remove from cutting mat.
STEP THREE: PEEL AND APPLY
1. Peel paper backing off fabric image.
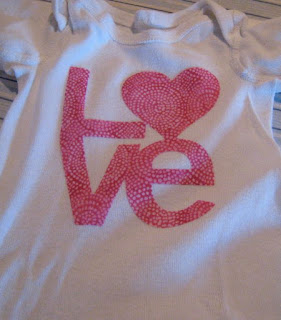
Another cute Cricut project!


7 comments:
We had the same idea! You used fabric. I used paint. So fun!
You are just throwing things out left and right here. I have a lot of catching up to do. Do you order your vinyl online?? I about ordered some yesterday, but then I backed out. I am such a tight wad and don't to spend a penny on shipping! I will break down soon and finally get myself some.
I tried this one, and it turned out SO cute! Thanks for always posting your directions! ;)
I'm having some problems with the fabric tearing a little when the cricut is cutting. Do you have any suggestions?
-Gloria
Gloria - I would make sure you have a new blade, adjust and try out a few different blade depths and maybe increase the pressure a little. Also, what kind of fabric are you using? Mine was a very thin, starched cotton weave. I bet the starch helped to keep it in place.
I'm so honored that you are doing this project! Thank you! Have fun - if you have any more questions, let me know.
Okay, got the settings right!! It is cutting good now. Now one more question. I've made several and as I was going back through them a few of the pieces came off. I'm wondering if my iron is not hot enough? I usually use the wool setting (very low). Any suggestions??
Gloria - that is definitely a possibility. Try increasing the heat a little, especially if the fabric is a little thick. And make sure you have an equal or better quality of the Heat n Bond.
My sister-in-law created a variation of this project by cutting and securing a stencil to the fabric an then using fabric paint to fill in the stenciled design. You could use vinyl as a self-adhesive stencil.
These are so cute! Which cartridge(s) did you use?
Post a Comment