
Note: I have the Cricut Expression. I am not sure if the settings are different on the original Cricut.
Standard Cricut or Cricut Expression, cutting mat, spatula, font cartridge
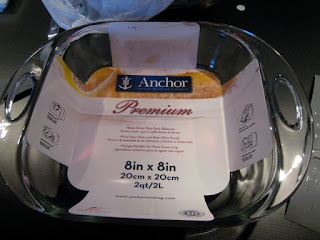
(1) 8x8 glass baking pan, glass pie pan, or other glass object

(1) 12x12 sheet of vinyl
(1) 12x12 sheet of transfer tape (you can get away with less)
masking tape
scissors
Armour Etch or other glass etching cream
warm water and soap
Windex/glass cleaner
The Cricut blade should be set to 4 for the entire project.
STEP ONE - PREPARATION
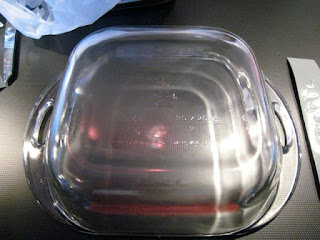
Remove all packaging and glue from baking pan. Clean with Windex. Place face down on flat surface.


STEP TWO - CUT YOUR WORDS
Note: words and images are cut differently, at different settings. It is best to cut all your words/letters at the same time
1. Place your vinyl sheet face down (vinyl side down) on the cutting mat.
2. Set Cricut blade to 4; pressure to High; speed to High; size to 1"
3. Insert you favorite Font Cartridge
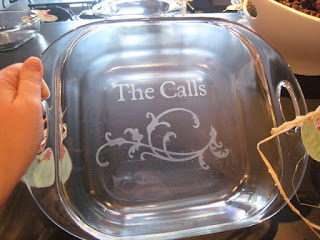
4. Type the first line (my example says "The Calls")
5. Press Load Paper
6. Press Cut
The Cricut should cut all the way through the vinyl. Don't worry about losing some letters...you only need the stencil, not the letters. However, be sure to save the insides of any letters that have inside pieces, such as "a" and "o"
Using the Line Return feature, continue to cut the remainder of any words or lettering you will need, using the same settings.

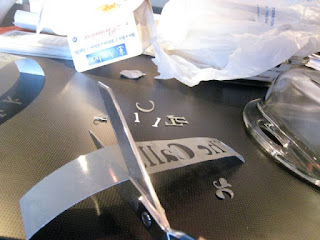
STEP THREE - RELEASE YOUR WORDS
Cut your words from the vinyl sheet. They should be backwards when you are looking at the vinyl side.


STEP FOUR - REMOVE LETTERS, SAVE INSIDES, TRIM
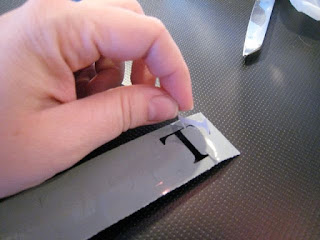
Carefully remove all the letters from the "stencil" you have created. Be sure to save the insides.

STEP FIVE - CUT YOUR IMAGES/DESIGNS


STEP FIVE - CUT YOUR IMAGES/DESIGNS
Changing your settings is very important for this step.
1. Place the remainder of your vinyl face up (vinyl side up) on the cutting mat.
2. Set pressure to MED, speed to MED and customize your size depending on your image. I used the Accent Essentials Flower image set at 3 1/2 inches.
3. Select your image/design
4. Press Load Paper
5. Press Cut
The cut should only go through the vinyl, not the backing. If it does cut through to the backing, use masking tape to cover the cut on the back.

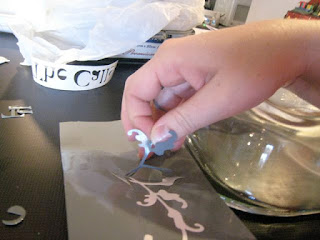
STEP SIX - RELEASE YOUR IMAGES/DESIGNS
Cut the image from the sheet of vinyl. I made multiple pans, so I cut multiple images.

STEP SEVEN - APPLY THE VINYL
Note: The words and images are applied slightly differently.
Words:
1. Place your transfer tape sticky side up on a hard surface
2. Center the words, vinyl side down, using your finger to smooth it onto the transfer tape.
3. Flip the whole thing over (using the transfer tape backing) and smooth the tape onto the vinyl with a popsicle stick or other tool.
4. Peel the vinyl backing off, rocking the vinyl for easier removal.
5. Place the vinyl where you want it on the bottom of the glass pan
6. Smooth out all the bubbles using a popsicle stick or other tool
7. Rocking the transfer tape, slowly remove from vinyl and glass.
8. IMPORTANT!!! Place the insides back in the letters


Images/Designs:
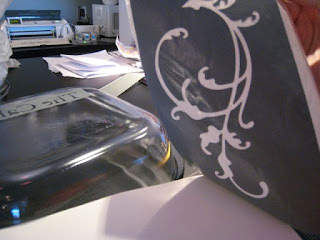
1. Peel out the image/design, leaving just a stencil.
2. Place your transfer tape sticky side up on a hard surface
3. Center the image/design, vinyl side down, using your finger to smooth it onto the transfer tape.
4. Flip the whole thing over (using the transfer tape backing) and smooth the tape onto the vinyl with a popsicle stick or other tool.
5. Peel the vinyl backing off, rocking the vinyl for easier removal.
6. Place the vinyl where you want it on the bottom of the glass pan
7. Smooth out all the bubbles using a popsicle stick or other tool
8. Rocking the transfer tape, slowly remove from vinyl and glass.
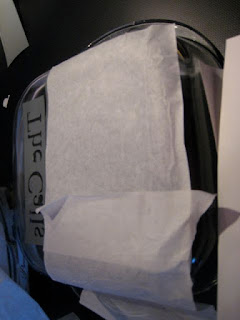
STEP 8 - TAPE OFF SURFACE AREAS AND FILL IN THE LETTERS WITH THEIR INSIDES
4. Flip the whole thing over (using the transfer tape backing) and smooth the tape onto the vinyl with a popsicle stick or other tool.
5. Peel the vinyl backing off, rocking the vinyl for easier removal.
6. Place the vinyl where you want it on the bottom of the glass pan
7. Smooth out all the bubbles using a popsicle stick or other tool
8. Rocking the transfer tape, slowly remove from vinyl and glass.


STEP 8 - TAPE OFF SURFACE AREAS AND FILL IN THE LETTERS WITH THEIR INSIDES
Note: This is an important step. The vinyl alone will not prevent bleeding of the glass etcher, even if it's nowhere near the open glass. I learned this the hard way with my first few pans. Masking the rest of the surface is essential for a clean design.


 STEP 8 - YOU'RE READY TO ETCH!!!
Using a stencil brush or other stiff brush, apply the etching cream to the lettering and design stencils. Brush up, down, and sideways, making sure to cover the design thoroughly.
Let it sit according to the directions on the etching cream - mine says 5 minutes, but I let it sit for at least 10.


STEP 9 - RINSE, WASH, REMOVE, REPEAT
You are ready to see your finished project!
1. Rinse the etching cream off with warm water.
2. Wash entire pan with dish soap
3. Remove all tape and vinyl - discard (warm water helps it come off easily)
4. Thoroughly rinse and wash with detergent again to remove all cream
5. Windex the entire pan
6. Dry and enjoy the fruits of your labor!
Tips and Tricks:
For words, cut vinyl side down at top speed and top pressure, blade set at 4.
Use Transfer tape to apply to glass surface.
Make sure to tape off within 3 inches of the words/images - etching cream shows up even if you don't get it around the edges.
For images, set pressure at low and speed at min. This way, it will cut through the vinyl, but not through the backing.
Use an asymmetrical image for best results. It's pretty challenging to center everything perfectly.


No comments:
Post a Comment